How to write helm chart for an application
Write helm chart for Spring Boot application and install in Kubernetes cluster
Pre-requisites
If you are new to helm, you can visit my earlier article to get introduction to helm
For this tutorial, I use usermanagement Spring boot application using docker image pushed to Docker Hub.
You should have helm & kubectl CLI installed along with access to Kubernetes cluster
You can refer below source code for the steps in this article.
Create a new helm chart
Let's create a new helm chart for usermanagement application. Create charts directory in current directory and run below command.
helm create myapp
This creates a new myapp directory in charts, containing standard template files for Service, Deployment, Ingress, HorizontalPodAutoscaler, ServiceAccount.
We will use these files and modify the sections as per our application.
Let's update values.yaml as per usermangement application. Here I am using below values specifying docker image repository, tag and liveness URL. Only replace below values in the file
charts\myapp\values.yaml
image:
  repository: docker.io/ocbdeveloper/usermanagement
  pullPolicy: IfNotPresent
  # Overrides the image tag whose default is the chart appVersion.
  tag: "v1.0.0"
  port: 8080
  livenessUrl: /swagger-ui/index.html

imagePullSecrets: []
nameOverride: "user-service"
fullnameOverride: ""
Generated deployment.yaml file has container port hard coded, let's make it configurable and get the value from values.yaml as shown above.
Replace the only below text in generated deployment.yaml file. We are referring image.port and image.livenessUrl from values.yaml
charts/myapp/template/deployment.yaml
          ports:
            - name: http
              containerPort: {{ .Values.image.port }}
              protocol: TCP
          livenessProbe:
            httpGet:
              path: {{ .Values.image.livenessUrl }}
              port: http
          readinessProbe:
            httpGet:
              path: {{ .Values.image.livenessUrl }}
              port: http
UserManagement application provides Swagger UI for APIs provided, so let's update NOTES.txt so that user can access the URL on installing application.
Also let's update the template script to port-forward for Service instead of Pod. In standard generate NOTES.txt, it forwards Pod port.
Replace below text at the end of the generated file
charts/myapp/template/NOTES.txt
{{- else if contains "ClusterIP" .Values.service.type }}
  export SERVICE_NAME=$(kubectl get service --namespace {{ .Release.Namespace }} -l "app.kubernetes.io/name={{ include "myapp.name" . }},app.kubernetes.io/instance={{ .Release.Name }}" -o jsonpath="{.items[0].metadata.name}")
  export SERVICE_PORT=$(kubectl get service --namespace {{ .Release.Namespace }} $SERVICE_NAME -o jsonpath="{.spec.ports[0].port}")
  kubectl --namespace {{ .Release.Namespace }} port-forward service/$SERVICE_NAME 8080:$SERVICE_PORT
  echo "Visit http://127.0.0.1:8080/swagger-ui/index.html to use your application"
{{- end }}
Linting chart
When you write chart you need to validate it to see if it has correct syntax , you can check it using below command. If you get message 1 chart(s) linted, 0 chart(s) failed, your chart is fine
helm lint charts/myapp
Dry run helm chart
Before you install chart to Kubernetes cluster, you can dry run and see the yaml files generated to verify if there are any issues
helm install --generate-name --dry-run --debug charts/myapp
You can verify the output of generated yaml files.
Install helm chart
Let's now install the chart to Kubernetes cluster in default namespace. After successful installation, it should show you the notes to access your installed application
helm install demo-app charts/myapp
Test the application
After installation, you should see the notes and you can follow the steps to access the application.
1. Get the application URL by running these commands:
  export SERVICE_NAME=$(kubectl get service --namespace default -l "app.kubernetes.io/name=user-service,app.kubernetes.io/instance=demo-app" -o jsonpath="{.items[0].metadata.name}")
  export SERVICE_PORT=$(kubectl get service --namespace default $SERVICE_NAME -o jsonpath="{.spec.ports[0].port}")
  kubectl --namespace default port-forward service/$SERVICE_NAME 8080:$SERVICE_PORT
  echo "Visit http://127.0.0.1:8080/swagger-ui/index.html to use your application"
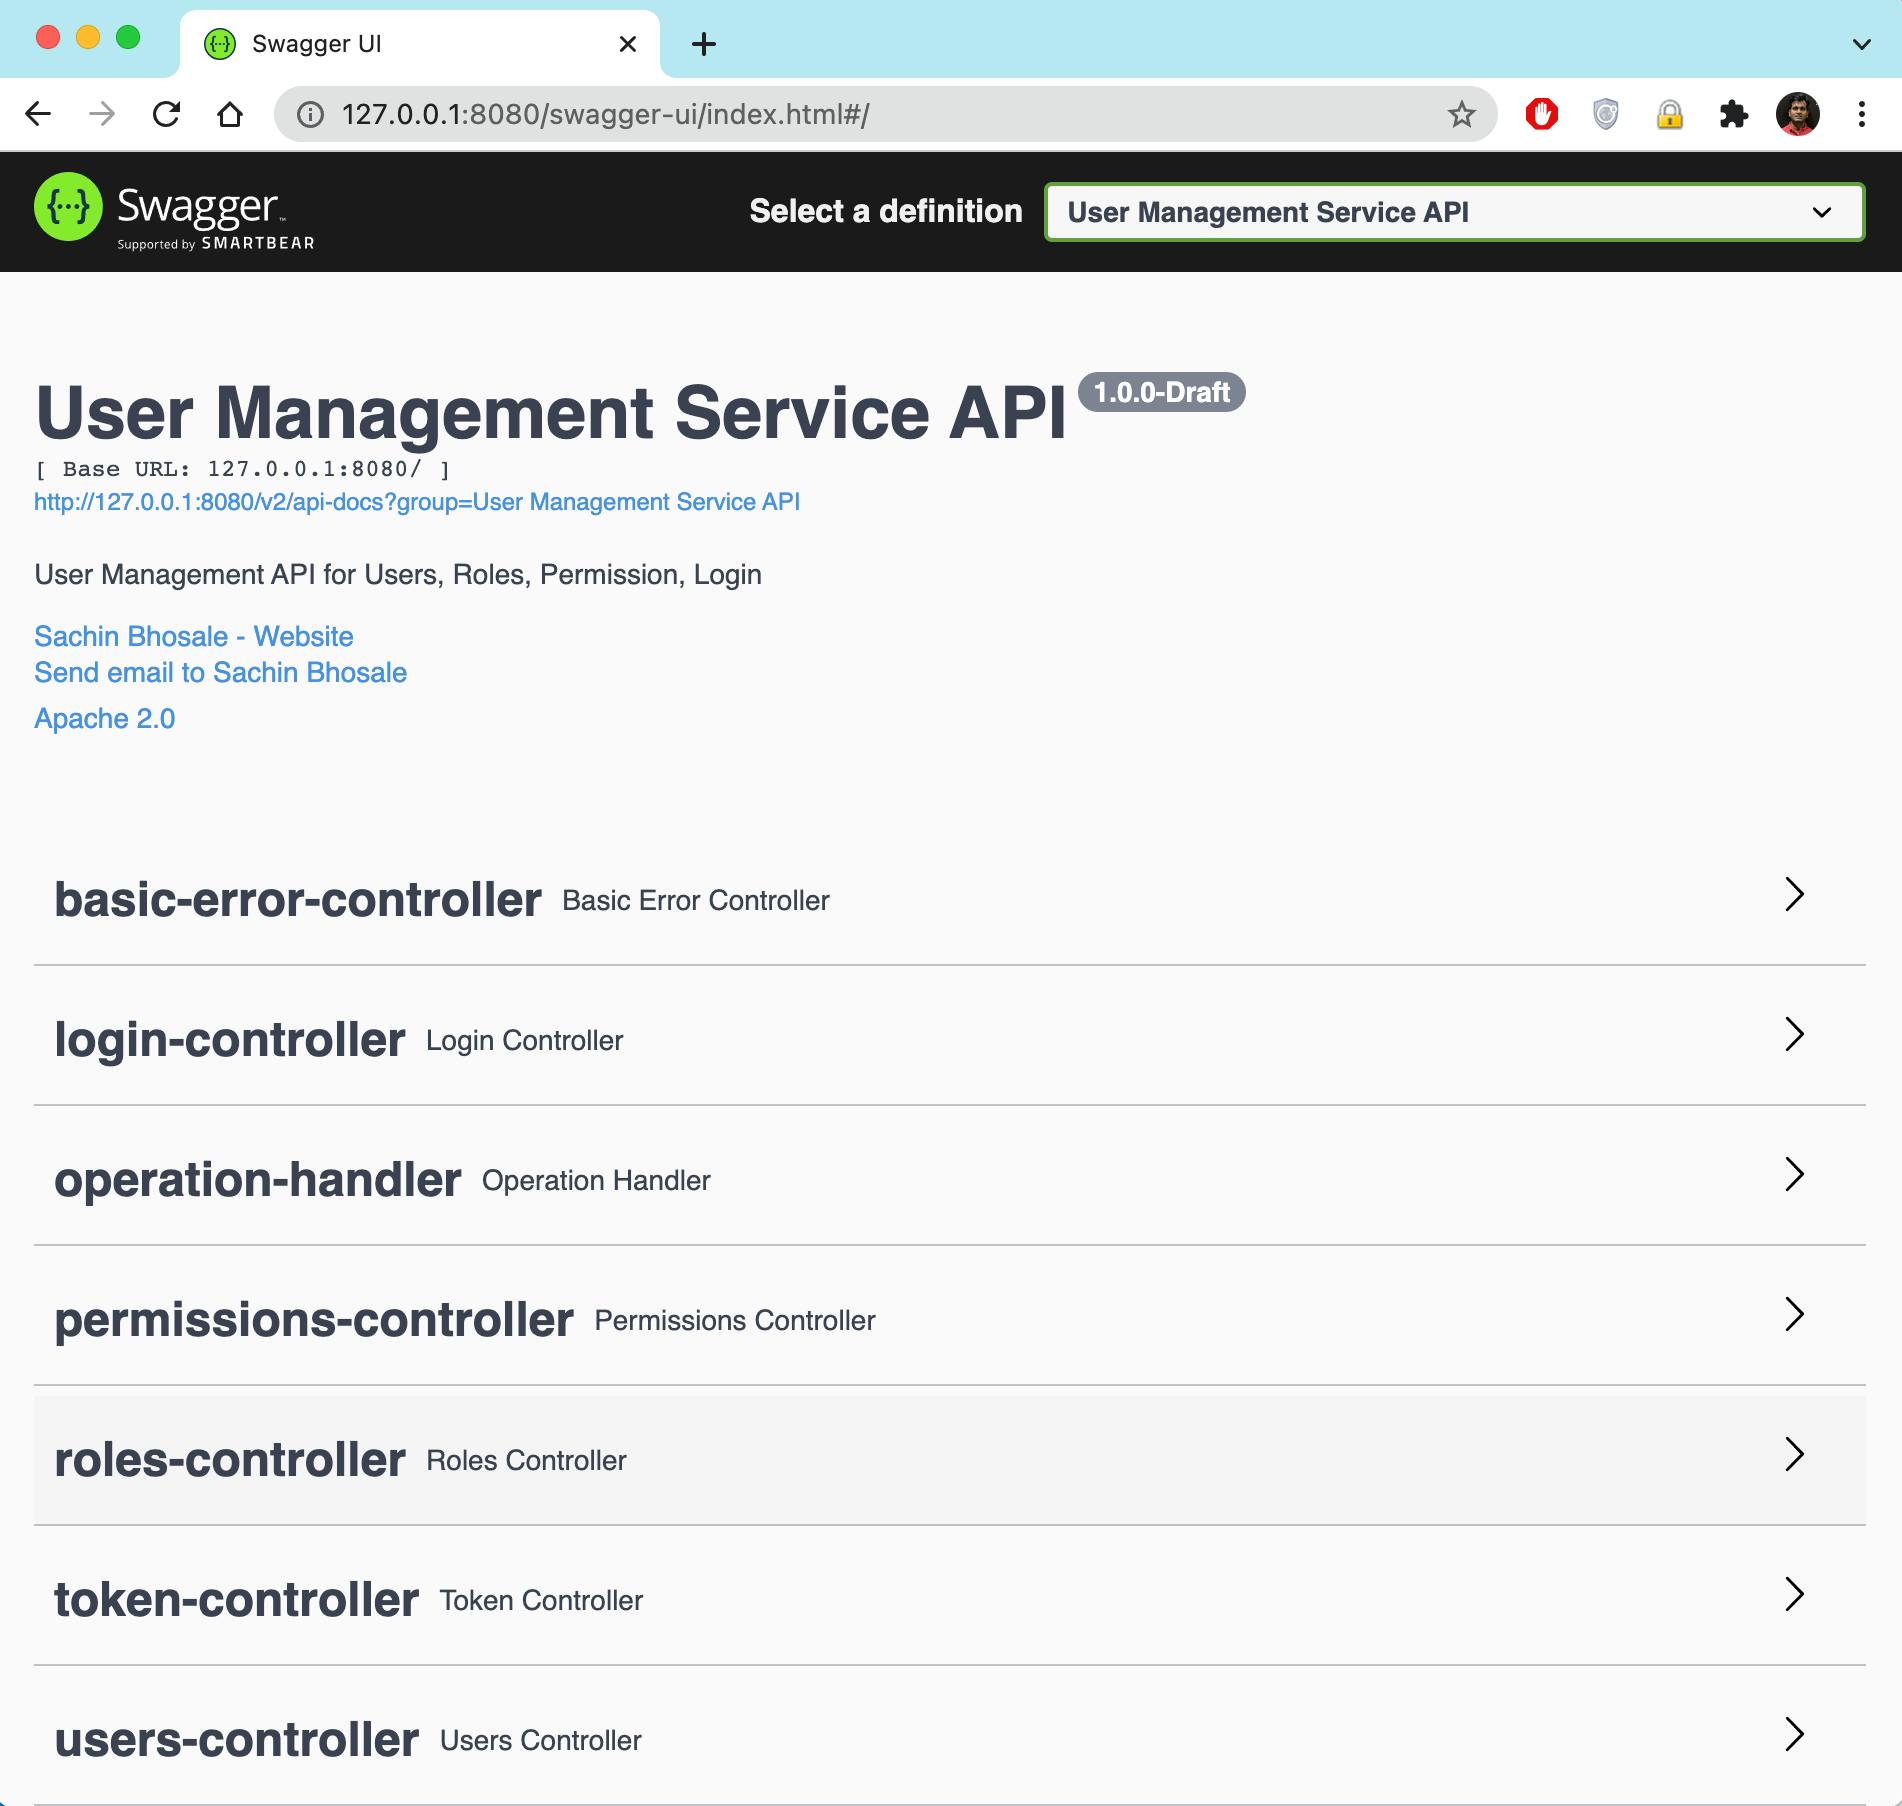
Run above three commands and visit http://127.0.0.1:8080/swagger-ui/index.html to view the application

Clean up
Let's uninstall the demo-app and cleanup the resources
helm uninstall demo-app
Congratulations! You have now written a helm chart for simple Spring Boot application.
In next article, we will see how we can add Postgresql sub-chart dependency to usermanagement application helm chart.
